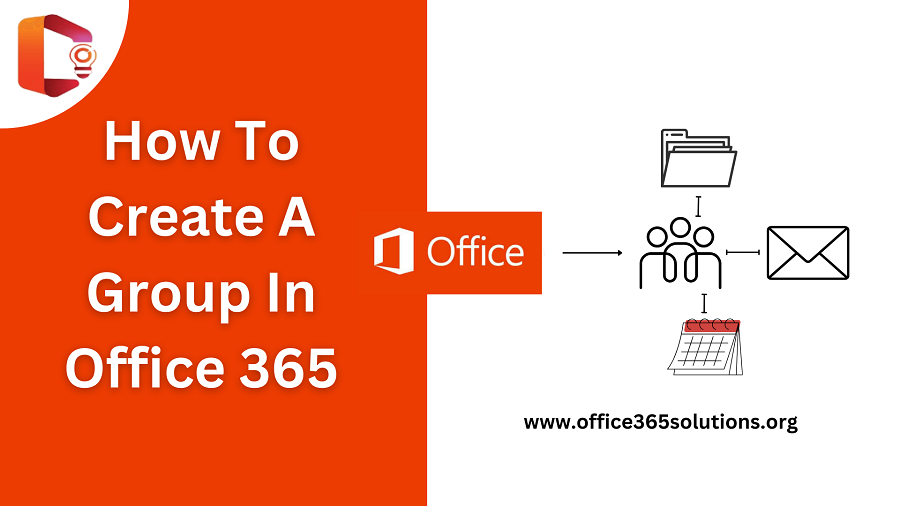
Microsoft Office 365 Groups is a powerful collaboration feature that allows teams to work effectively. It enhances teamwork by providing shared inboxes, calendars, files, and integration with OneNote. In this guide, we discuss how to Create a Group in Office 365, follow this step-by-step guide.
Table of Content
What is an Office 365 Group?
The Office 365 Groups is a teamwork feature that helps to bring people, email, calendars, and files together in one place. It works efficiently by providing shared access to Microsoft tools like Outlook, Teams, SharePoint, and OneDrive. Office 365 Groups are built to improve communication, streamline teamwork, and make it easier for members to collaborate on projects.
How do you Create a Group in Office 365?
There are 3 types of groups which we can create:
- Distribution List
- Security Groups
- Teams and Microsoft 365 Groups

In this article, we particularly discuss how to Create a Group in Office 365.
1) Distribution List
A distribution list in Microsoft 365 is a group of email addresses that are used to send messages to multiple people at once. Instead of adding each person manually or one by one, you send an email to the list, and everyone receives it. This is a quick and easy communication for teams, classes, or groups. You can add or remove people from the list at any time.
2) Security Groups
The security groups are also two types:
- Add a security group
A security group in Microsoft 365 is used to manage access to resources like files, apps, and SharePoint sites. It helps control permissions for multiple users at once.
- Add a mail-enabled security group
This is like a security group but also allows sending emails to all members. It is useful when you need both access control and group communication.
3) Teams and Microsoft 365 Groups
To Create a Group in Office 365, follow the below steps carefully:
Step-1: Open Microsoft 365 and click on Admin.
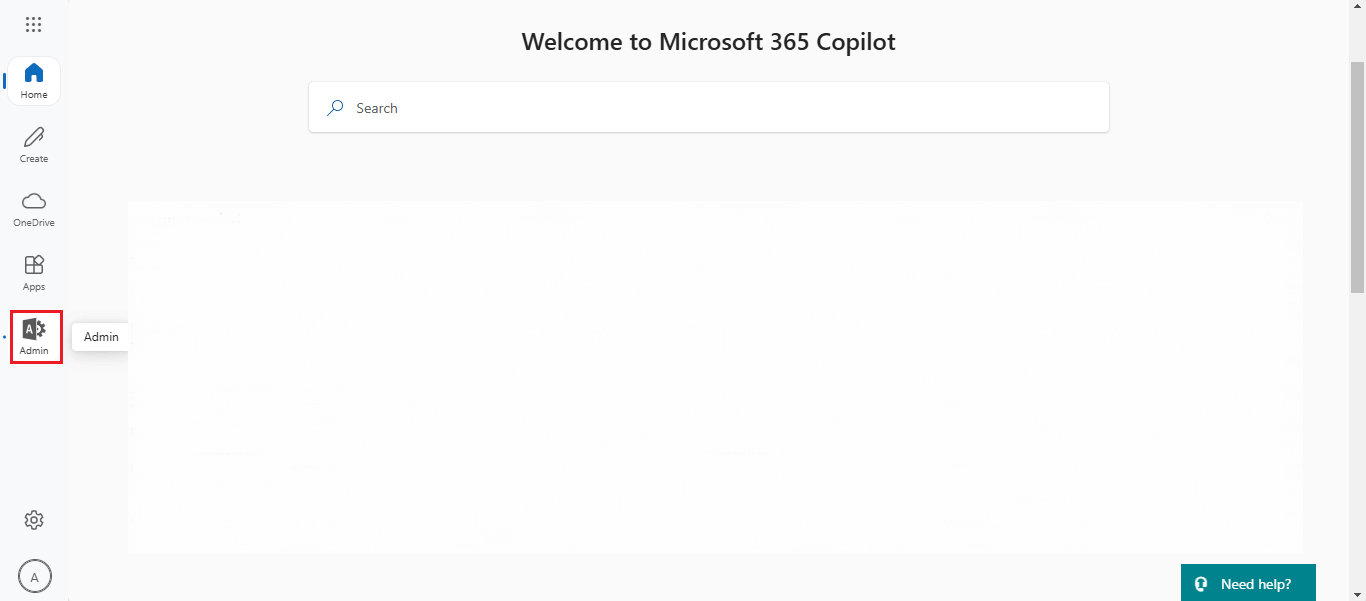
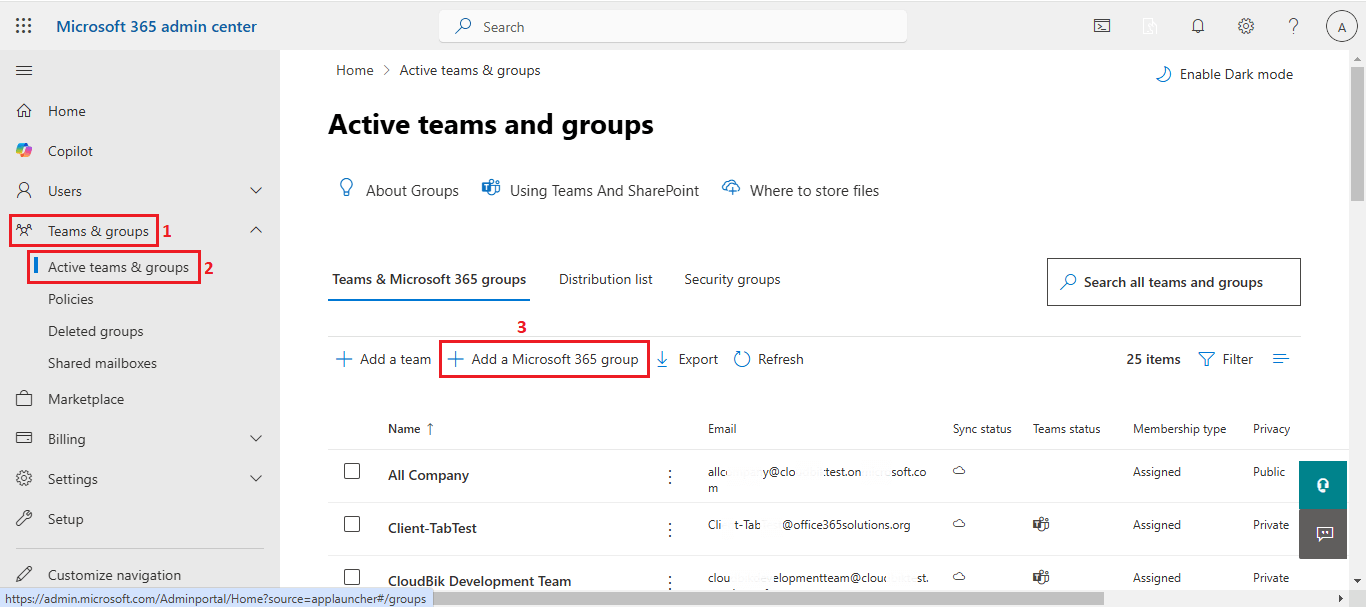
Step-2: Then go to Teams & Groups > Active Teams & Groups > Add a Microsoft 365 Groups
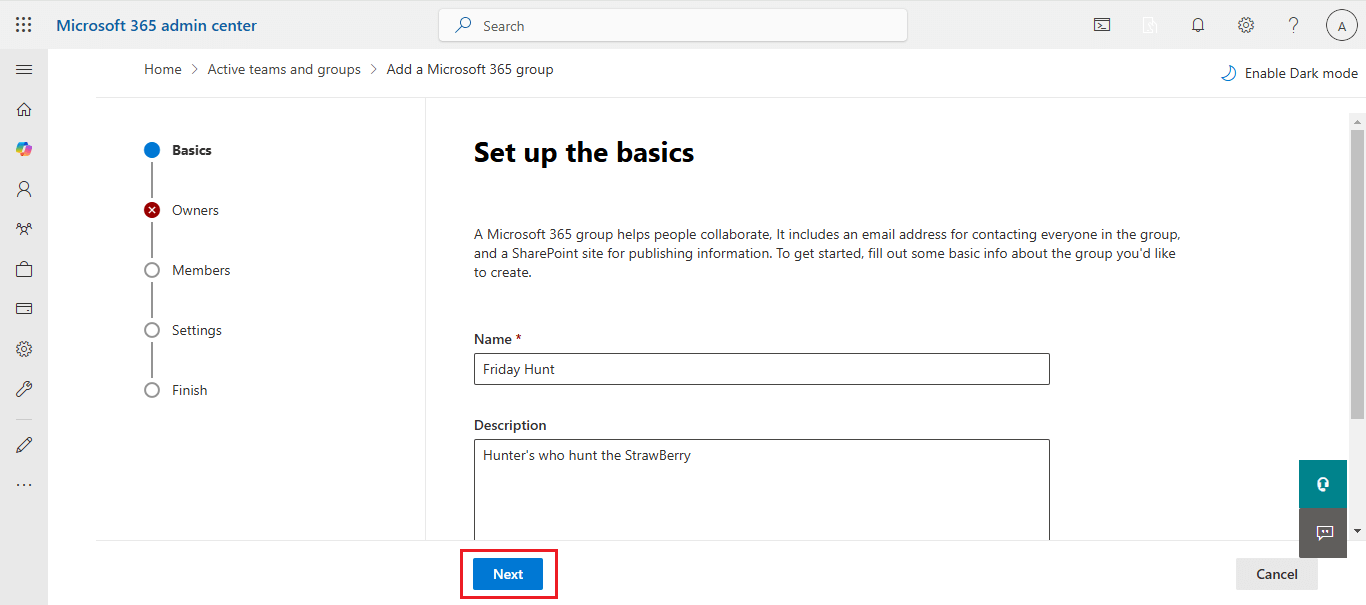
Step-3: Now enter the Group Name and Description. Click on Next
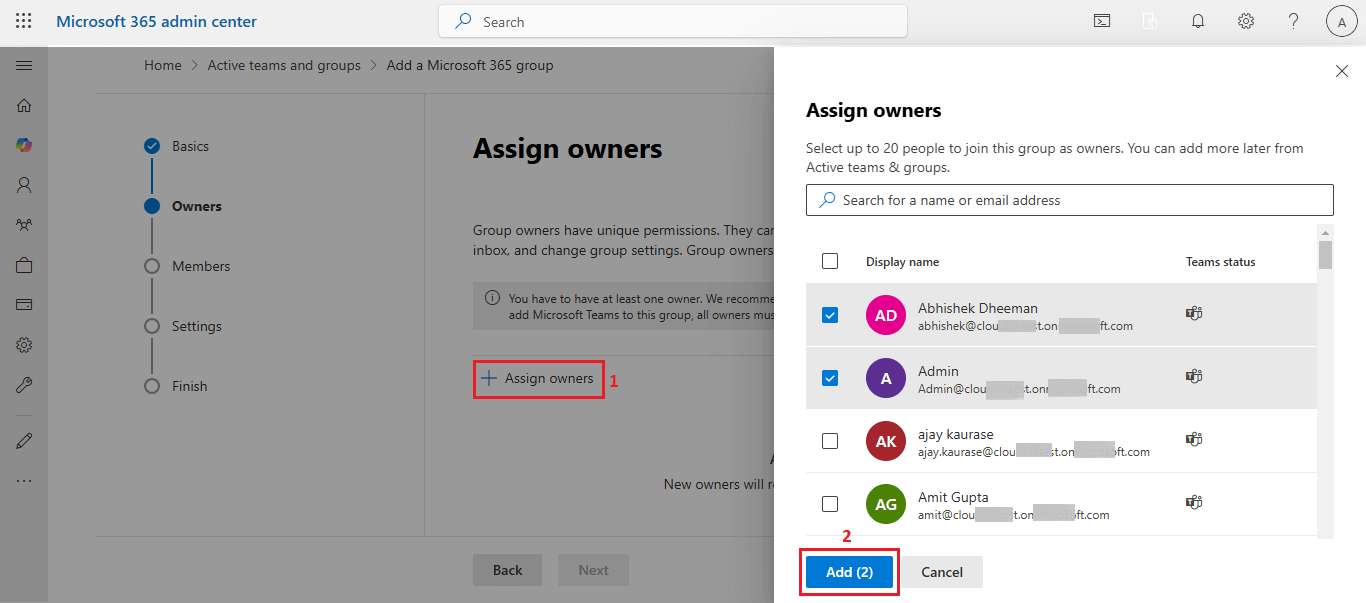
Step-4: Now, to assign Owners click on Assign Owners and select the owner’s by check the box, Click on Add to add the Owners as image shown below
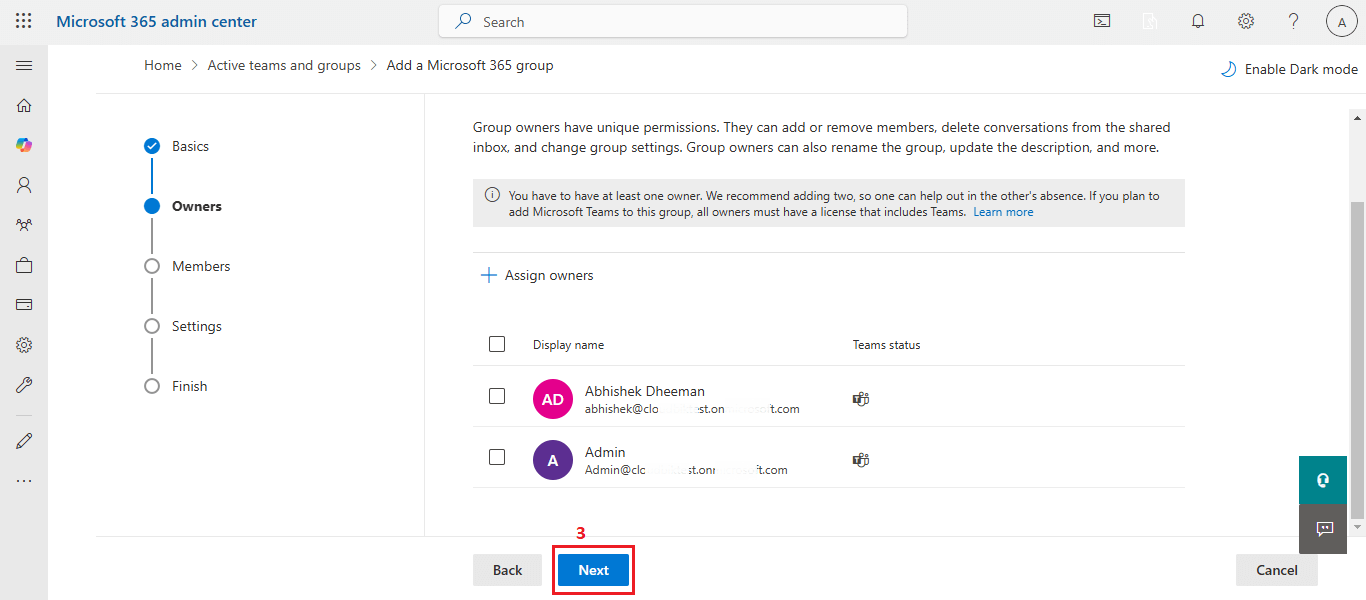
- Now Click on Next button
Step-5: To add members, click on add members and select the member’s by check the box, Click on Add to add the Owners as image shown below :
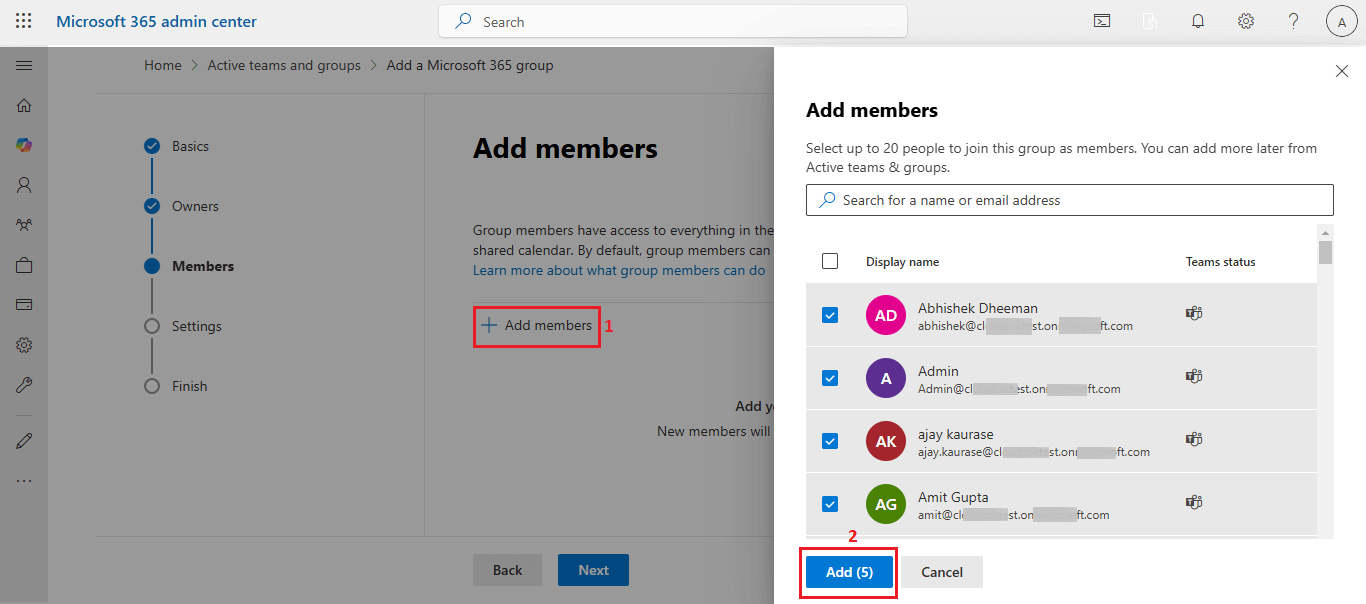
- Click on Next button
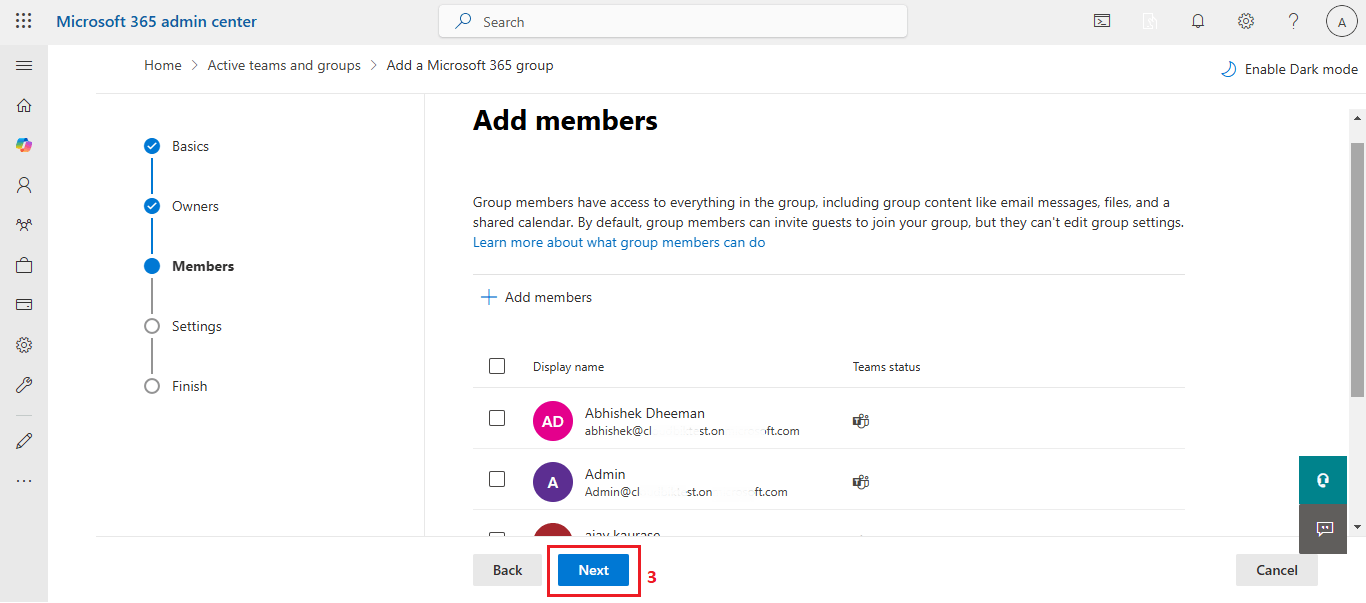
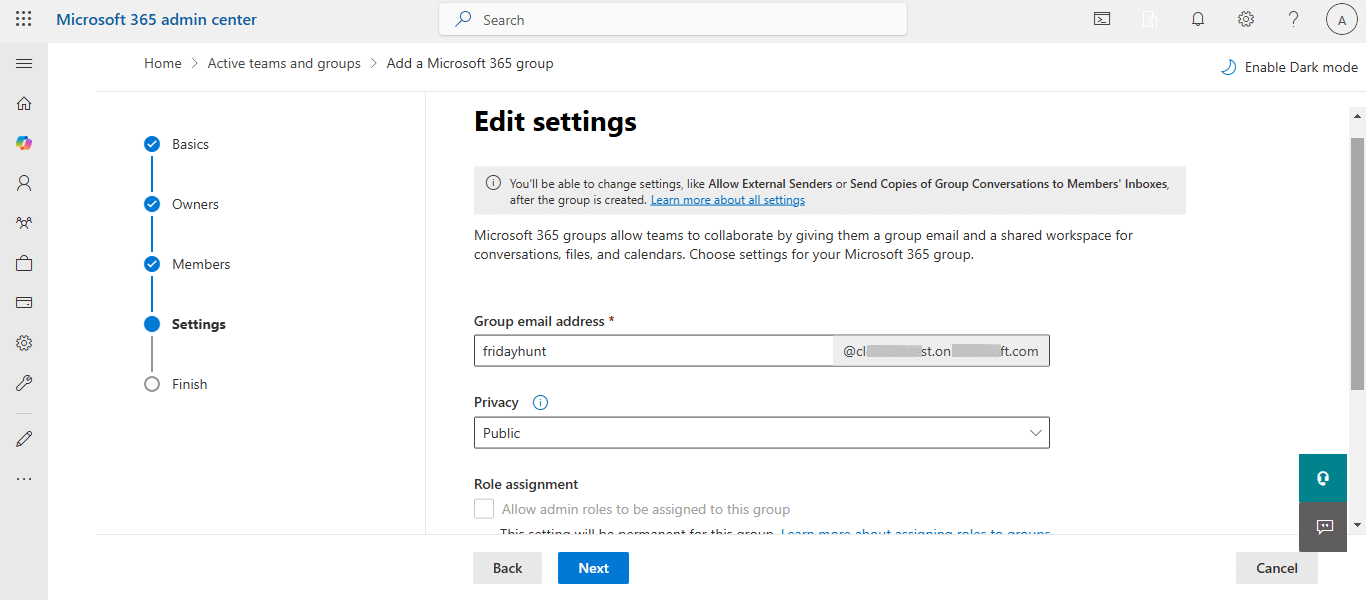
Step-6: Enter the Group email address name and select the privacy Public/Private
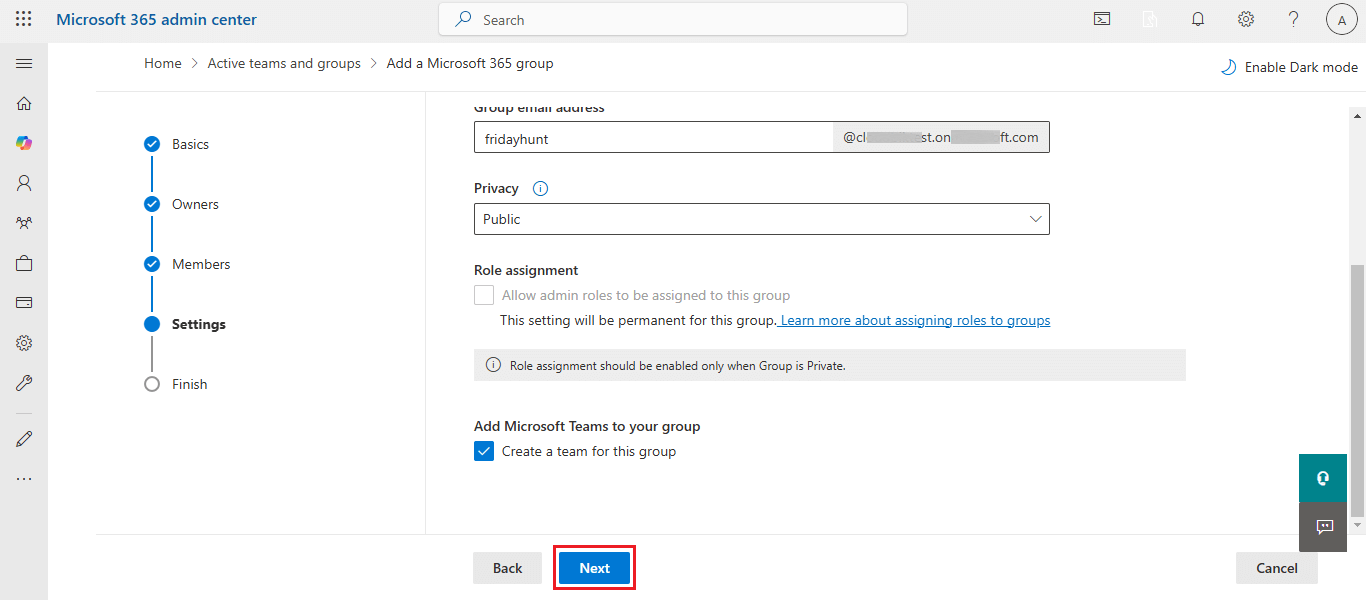
- Also if you need the Microsoft team attached to this group then check the box as shown in the image below otherwise leave it unchecked. Click on Next button
Step-7: Now review the details and Continue with the Create Group Option. 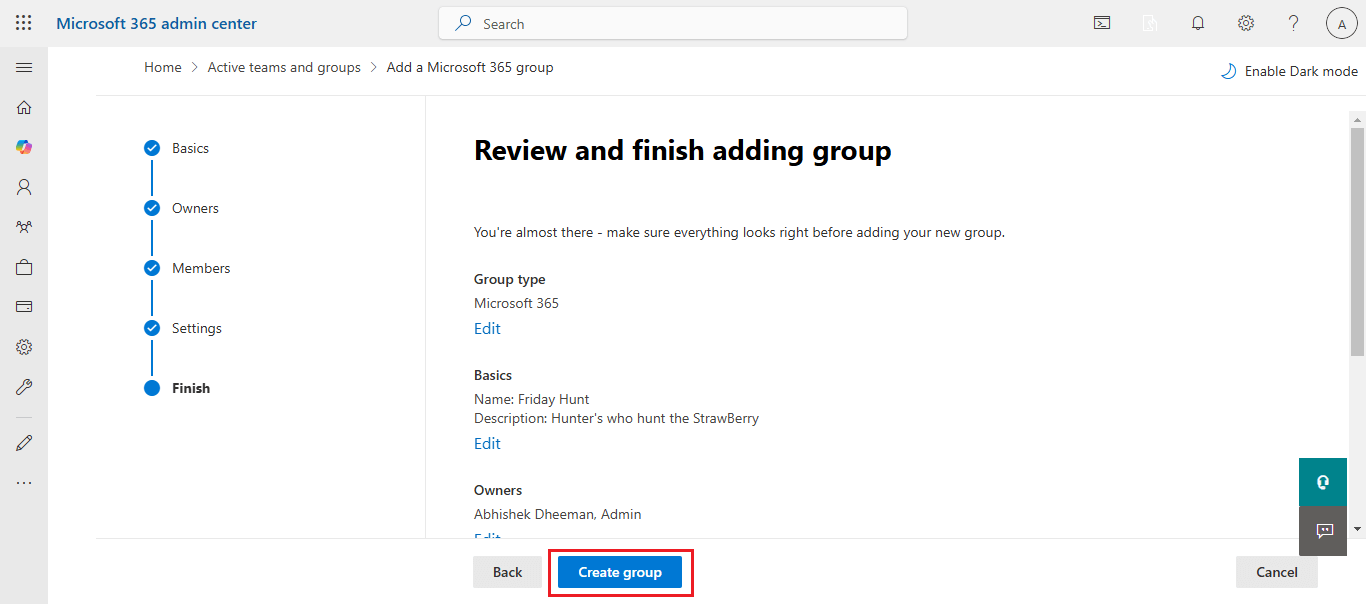
Step-8: It’s Done! The group is created successfully.
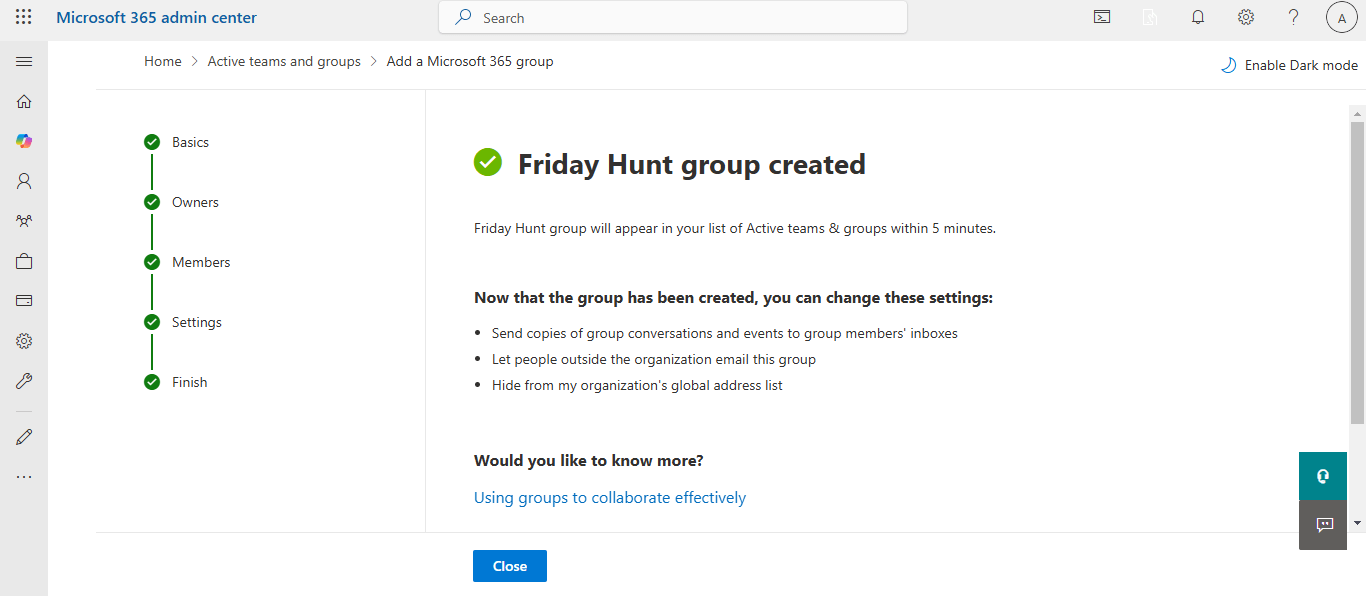
Step-9: To verify whether the group is created or not, use the search option as image shown below:
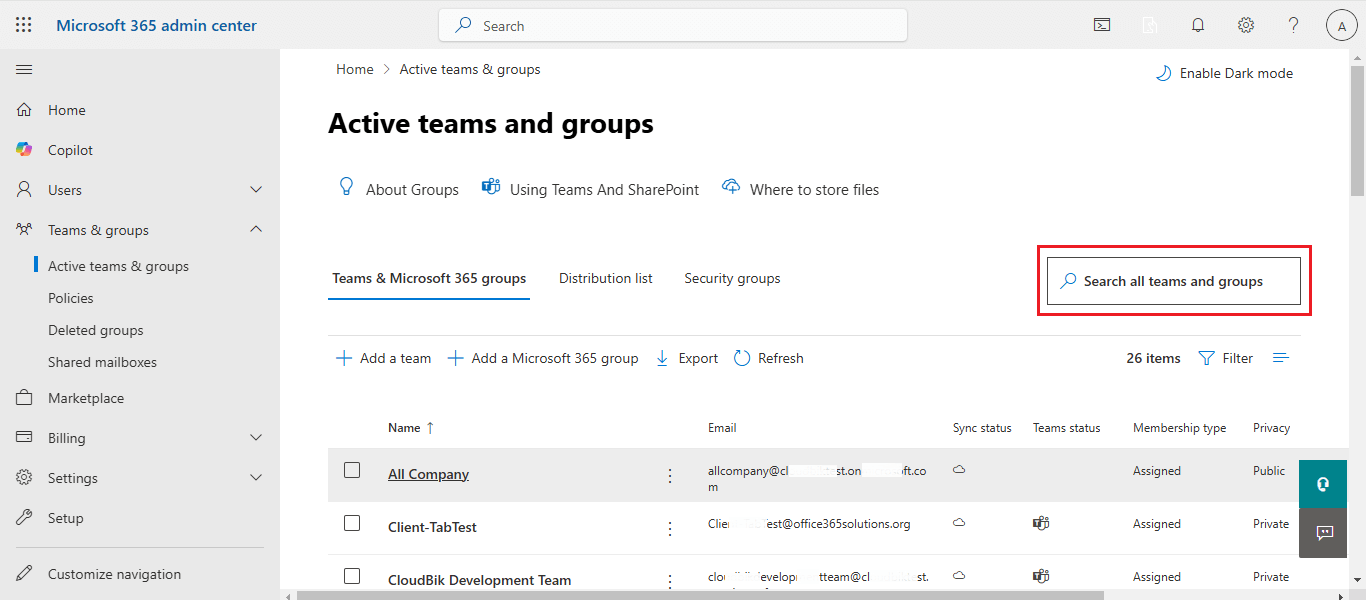
- Enter the group name
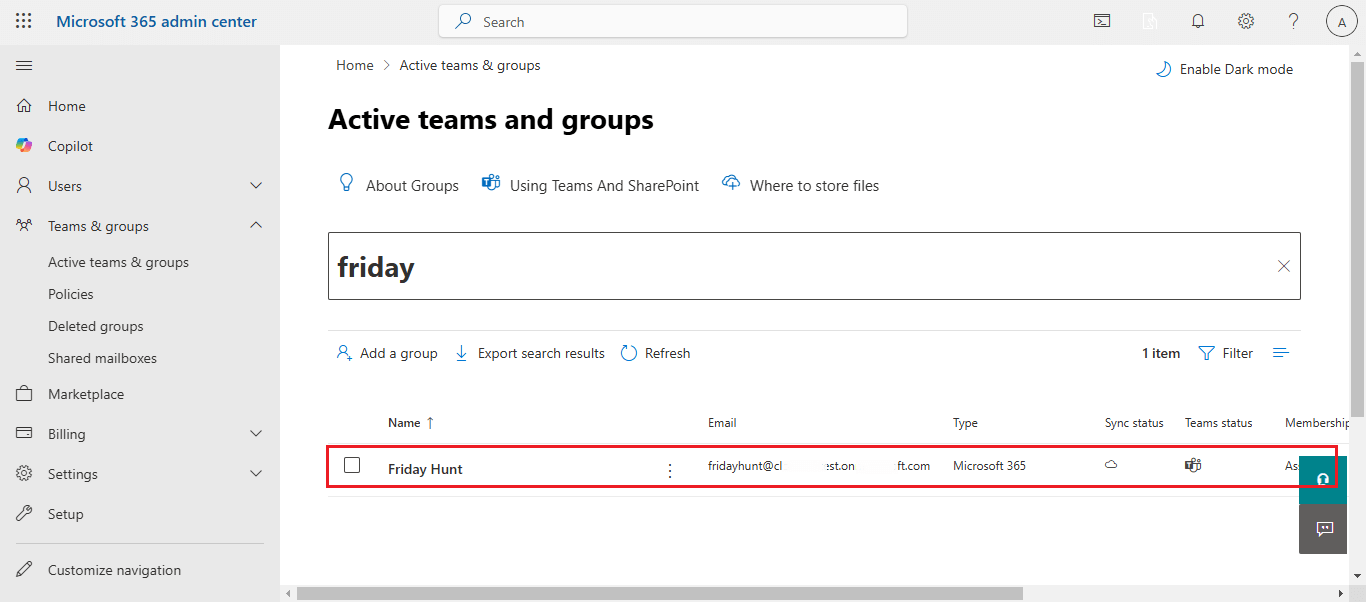
The above image shows that the group has been created successfully. Also, check the team option, the Team has also been created.
Note: If you have permission or you have a Global Admin Access, then you can Create a Group in Office 365.
Conclusion
In this article, we have discussed “What is Office 365 Groups?” and “How to create an email group in Office 365?”. When you find this article, it will help you to create a group in the Office 365 platform step by step. Also, share this post with those who need guidelines to set up an organization group in Microsoft 365.
