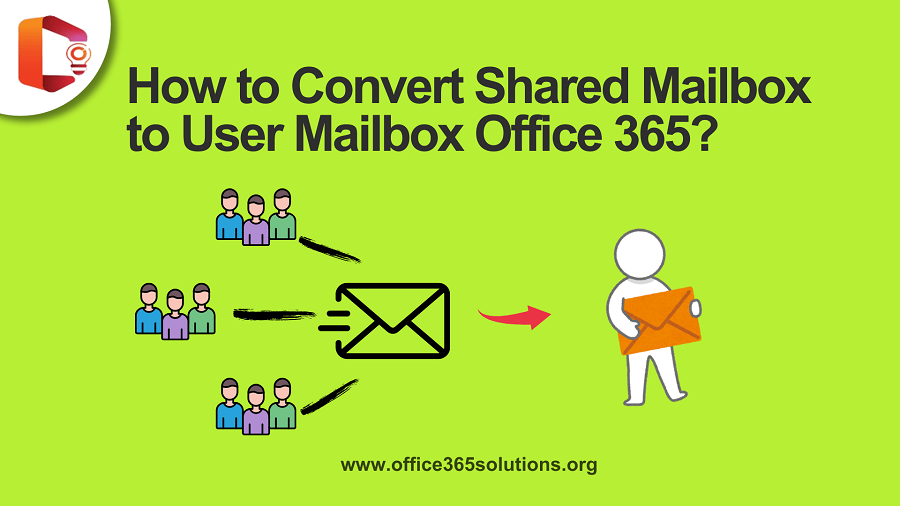
As an IT admin, you might often deal with shared mailboxes in Office 365. But what happens when a team no longer needs a shared mailbox, and one person requires exclusive access? Instead of creating a new mailbox from scratch, you can simply convert the existing shared mailbox into a regular user mailbox. Let’s explore how to Convert Shared Mailbox to User Mailbox in Office 365 efficiently. In this article, we’ll explain how to perform this conversion smoothly. without losing emails during the process.
Table of Content
Shared Mailbox :
A Shared Mailbox is a mailbox that multiple users can access and send emails from a common address without individual login credentials.
Regular Mailbox :
A Regular Mailbox is assigned to a single user with a unique login, requiring a Microsoft 365 license for personal email management.
There are two main approaches available to convert shared mailboxes into regular mailboxes:
- Admin Center
- Powershell
1) Convert the Mailboxes by using the Microsoft Office 365
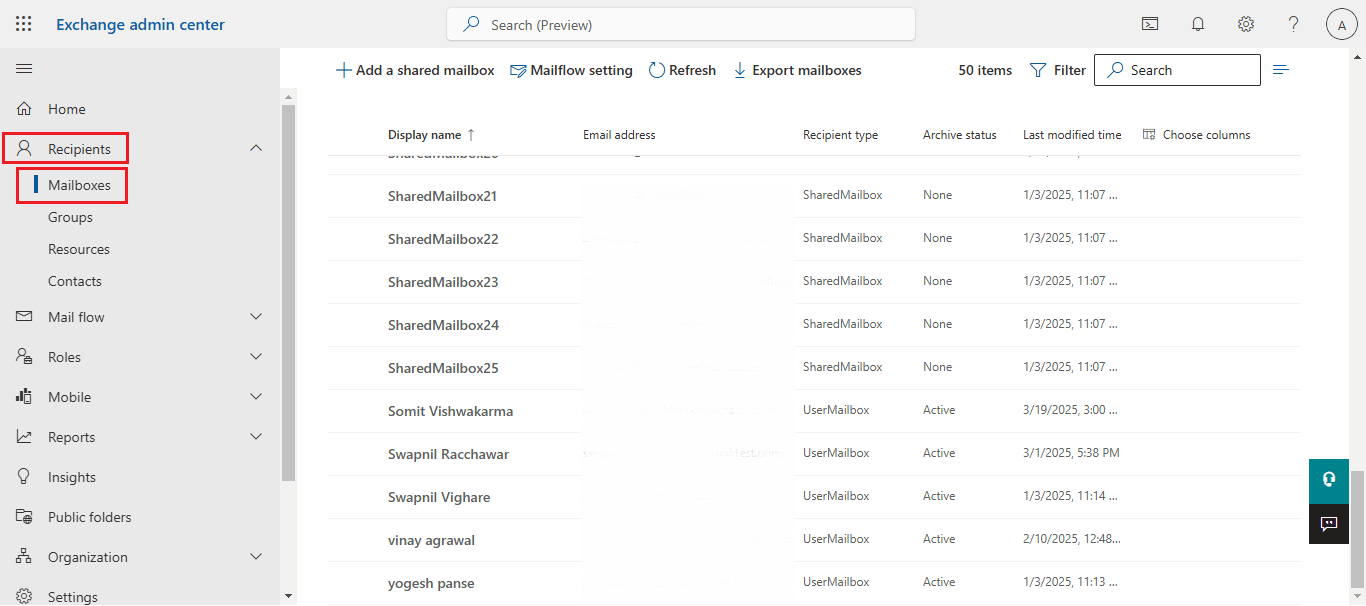
Step-1: Open the Exchange Admin Center and go to Recipients > Mailboxes
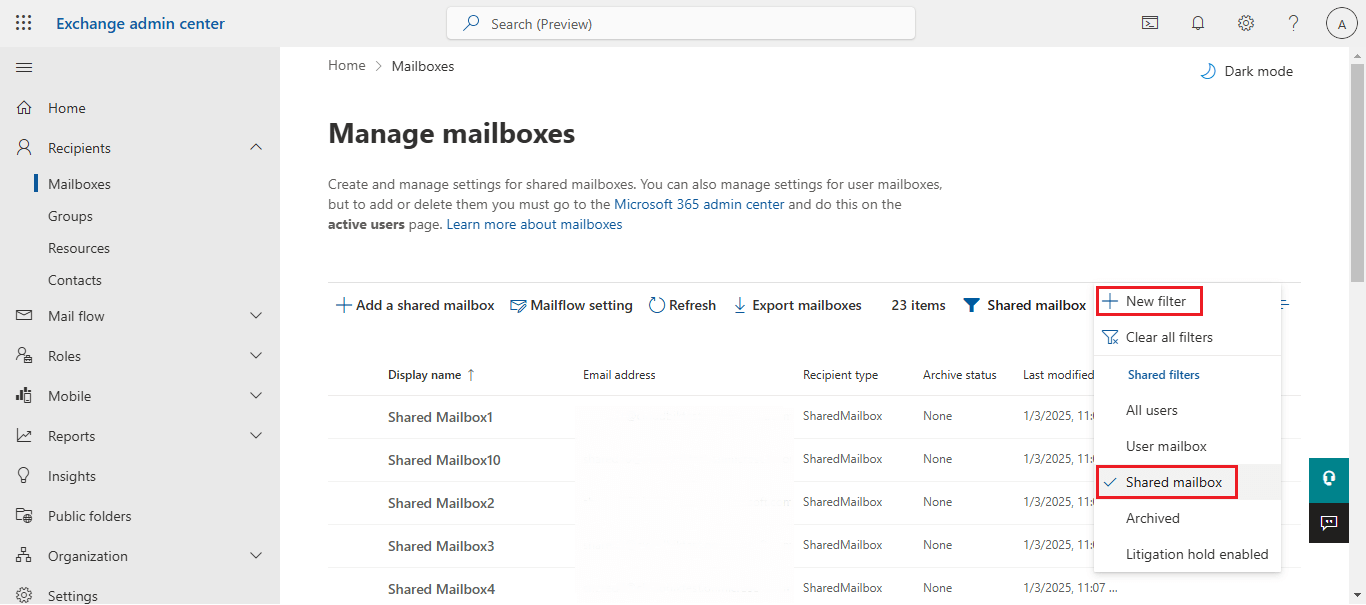
Step-2: Go to New Filter and select Shared Mailbox to filter out the Shared Mailboxes. Therefore, you can also scroll down to see the shared mailboxes
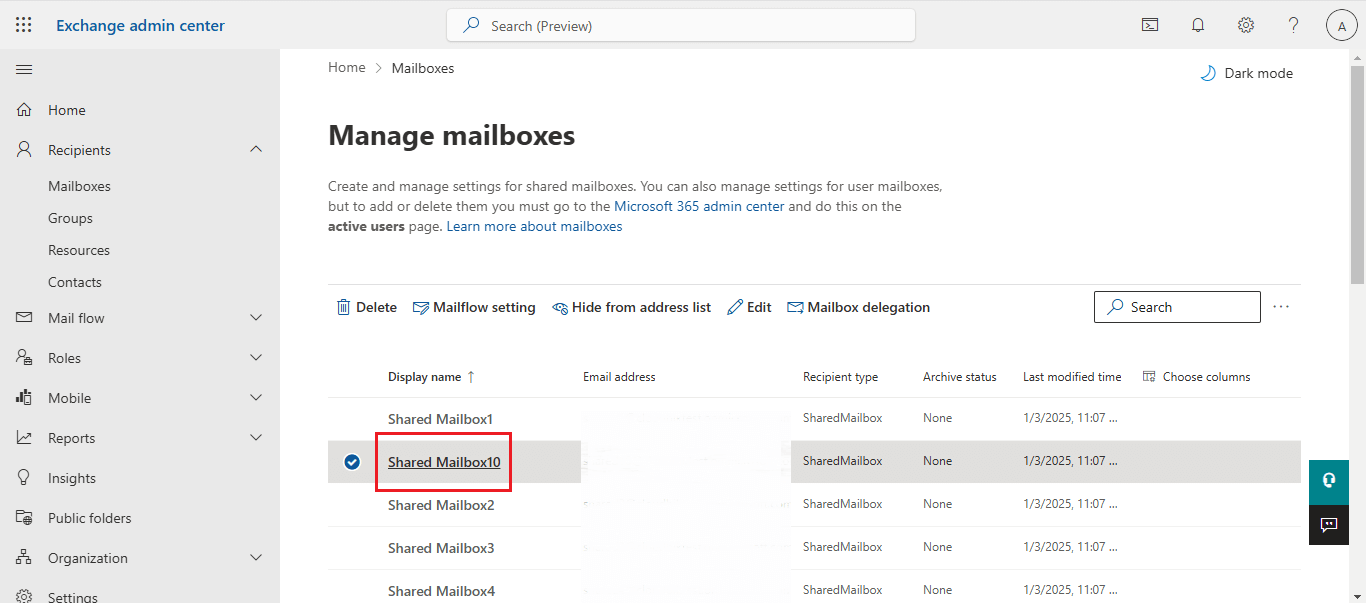
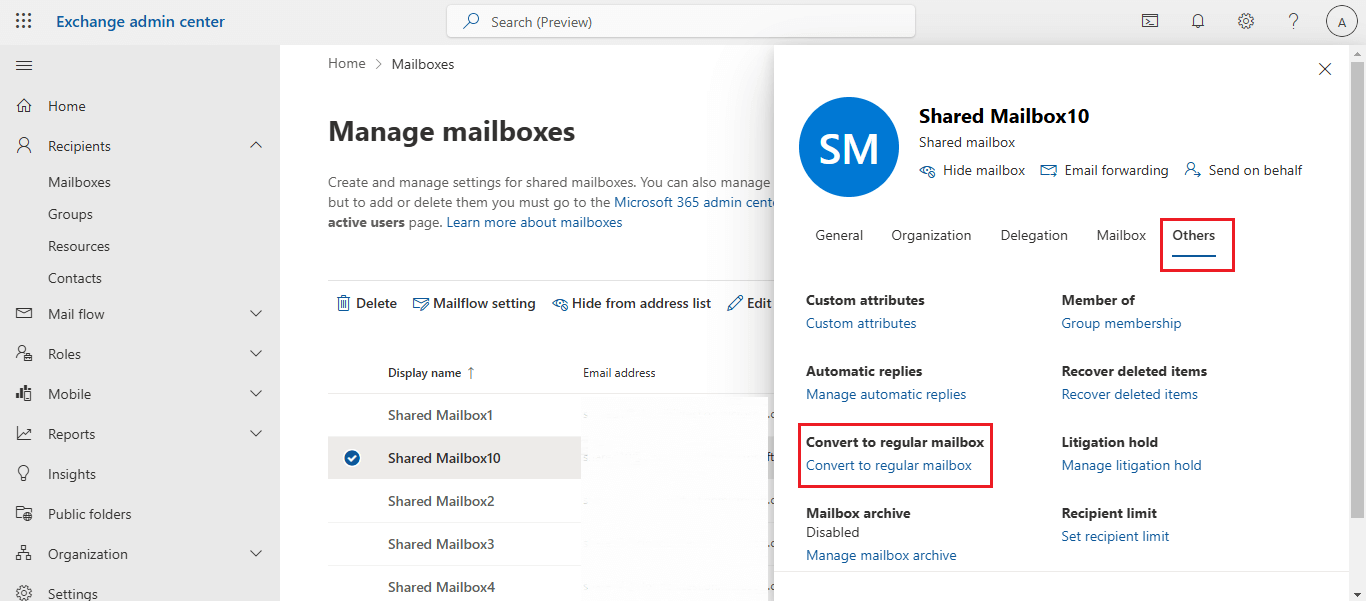
Step-3: search and select your shared mailbox, as i have “shared mailbox10”.
Step-4: Go to Others > Convert to Regular Mailbox
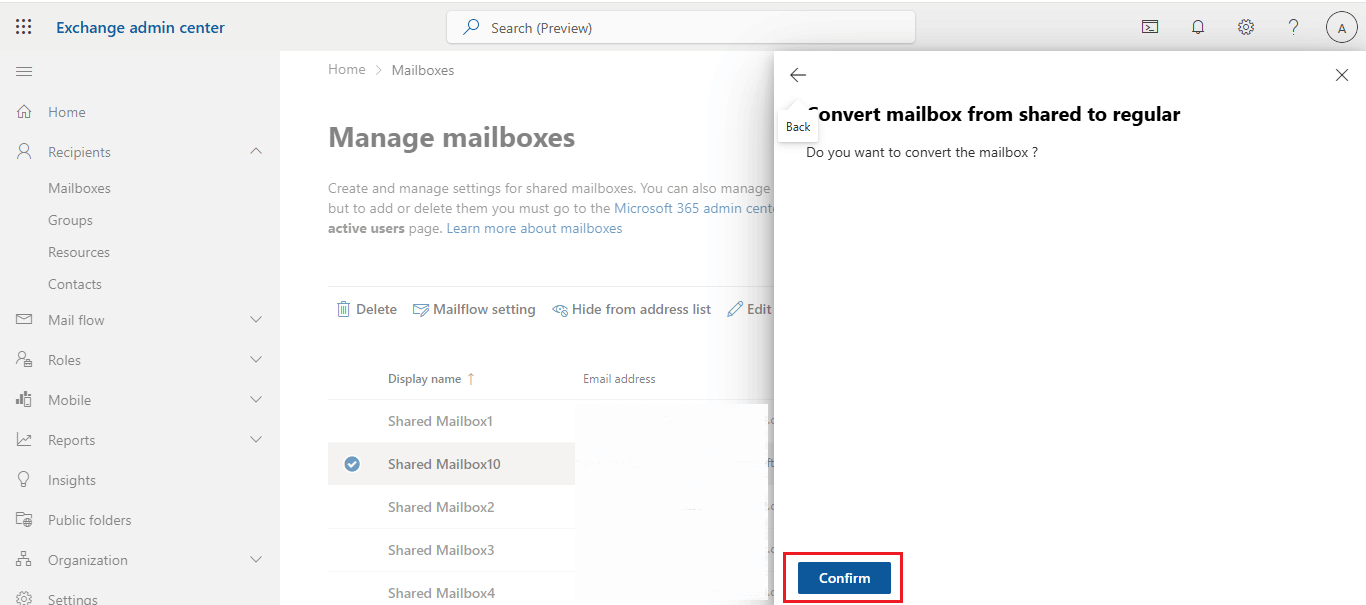
Step-5: Click on Confirm
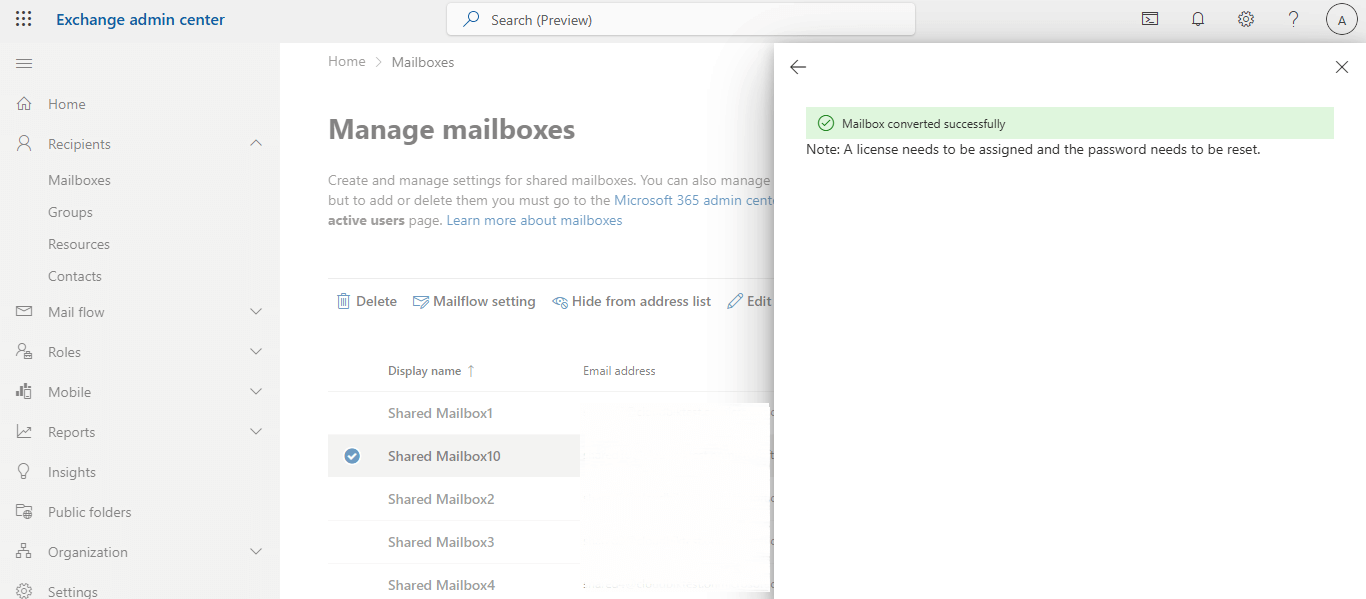
Step-6: A Confirmation message appears that the MailBox converted Successfully.
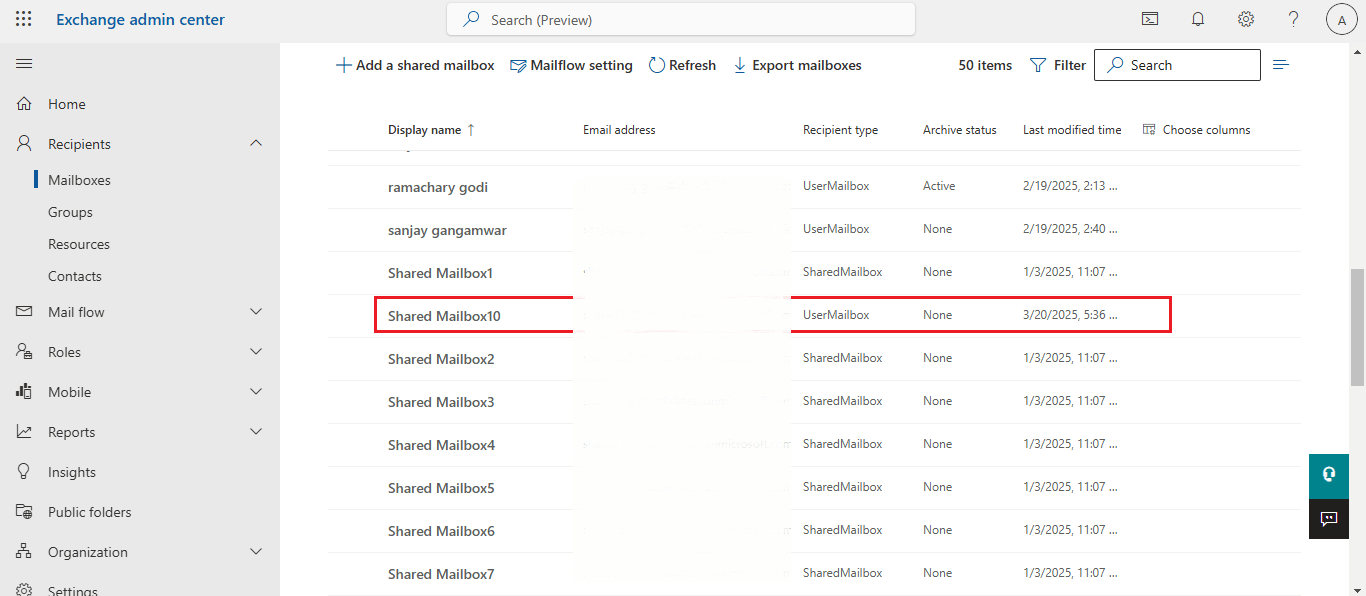
Step-7: You can also verify, whether the shared mailbox converted into a Regular Mailbox or not.
2) Convert the Mailboxes through the Windows Powershell
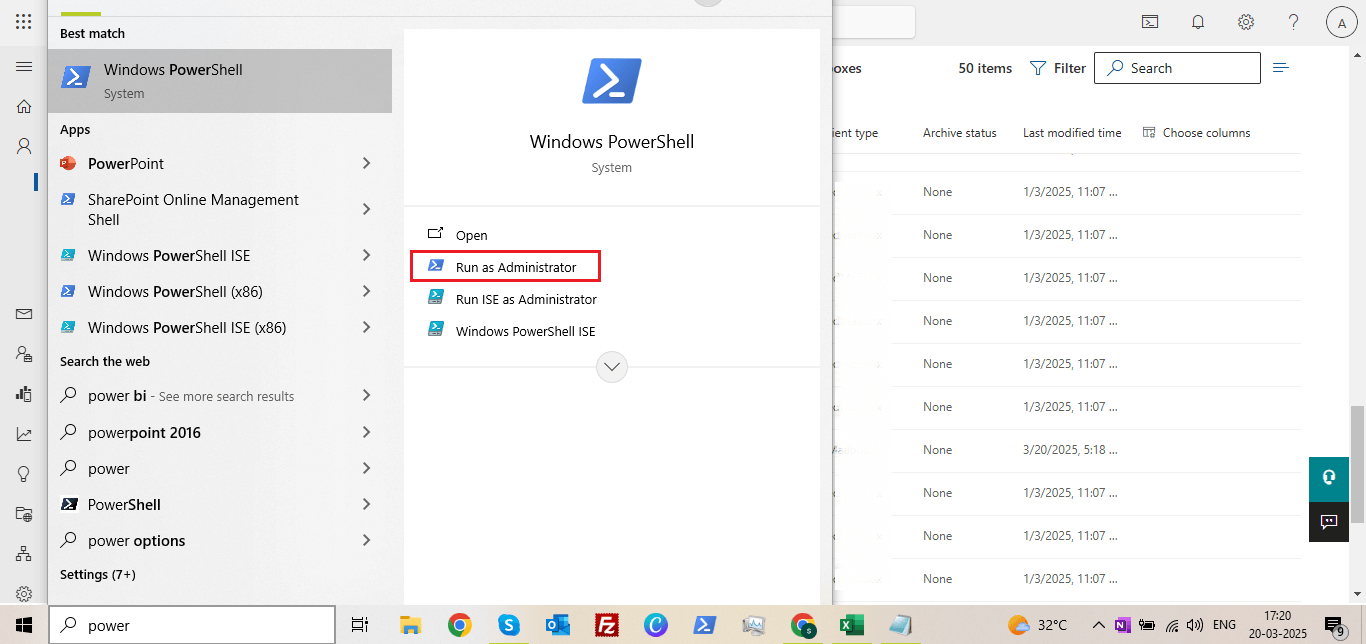
Step-1: Open Windows Powershell and run as Administrator
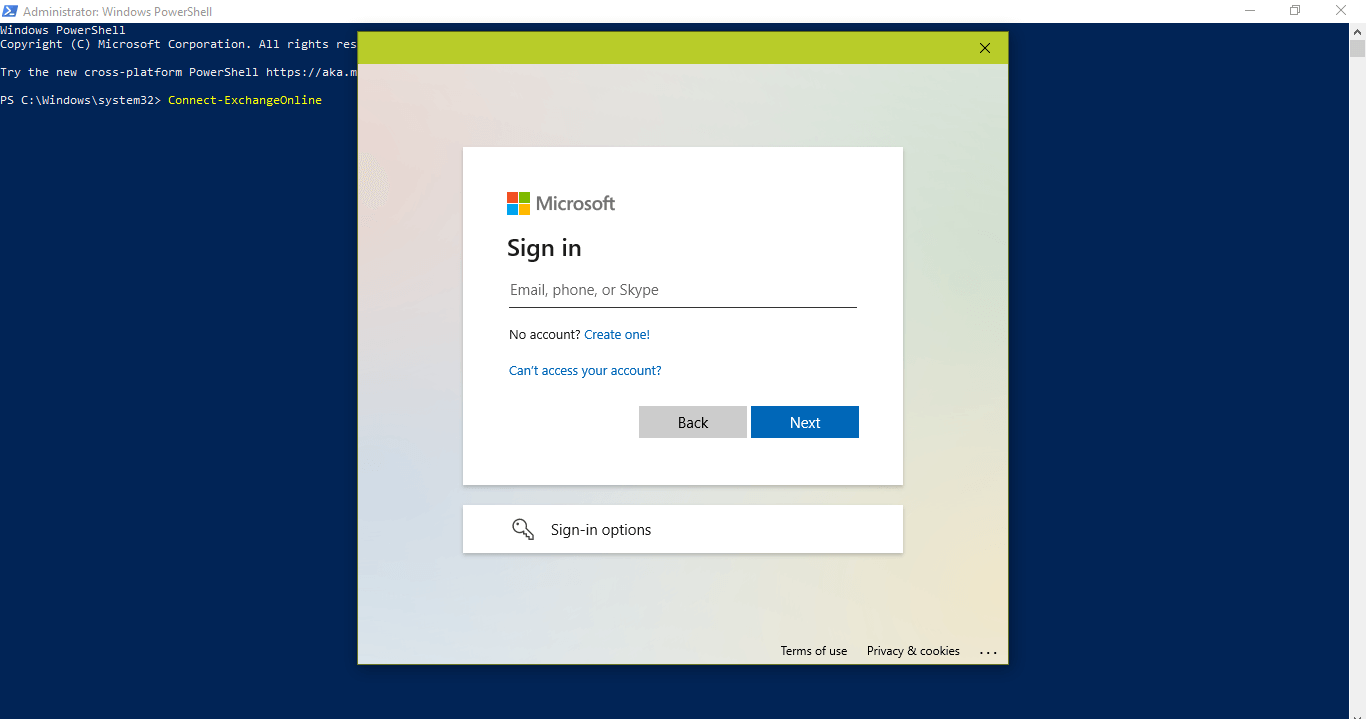
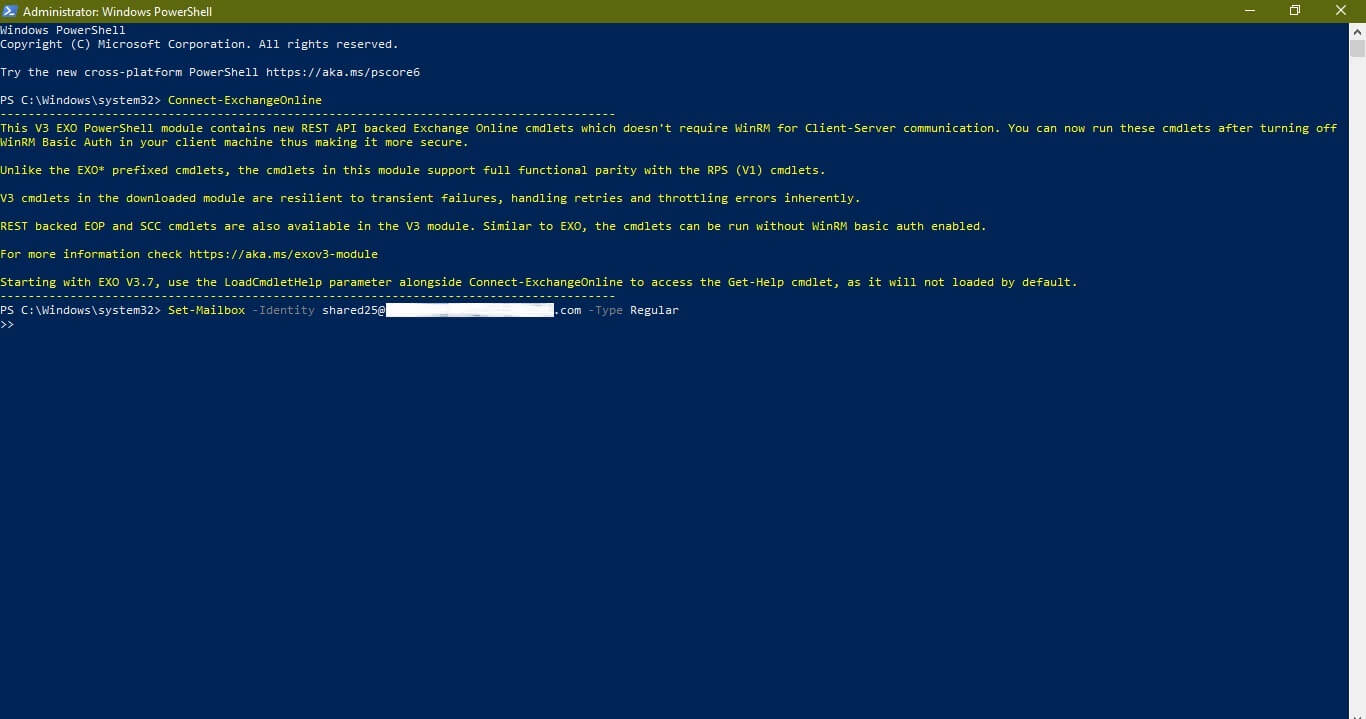
Step-2: Run the below command for Connect to Exchange Online and Enter your Microsoft Credentials (username and password).
“Connect-ExchangeOnline”
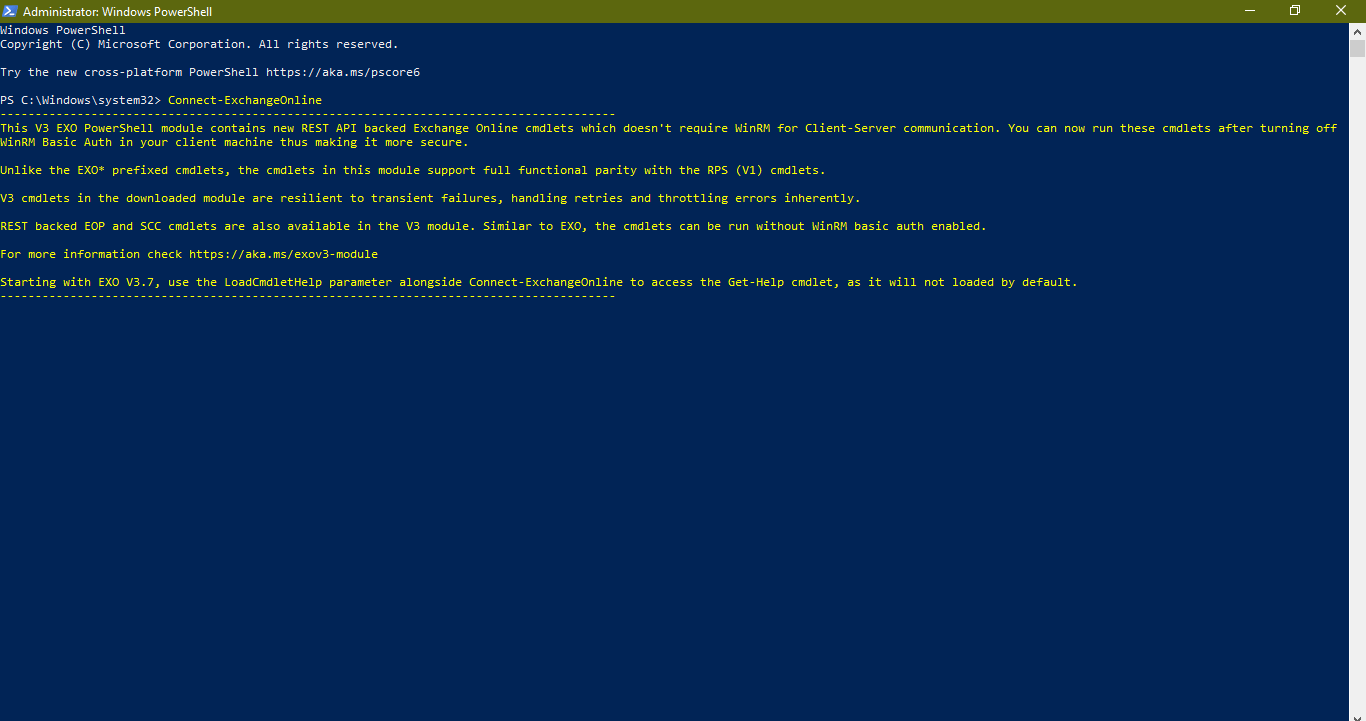
Step-3: You’ll see the Exchange Online successfully connected to Powershell.
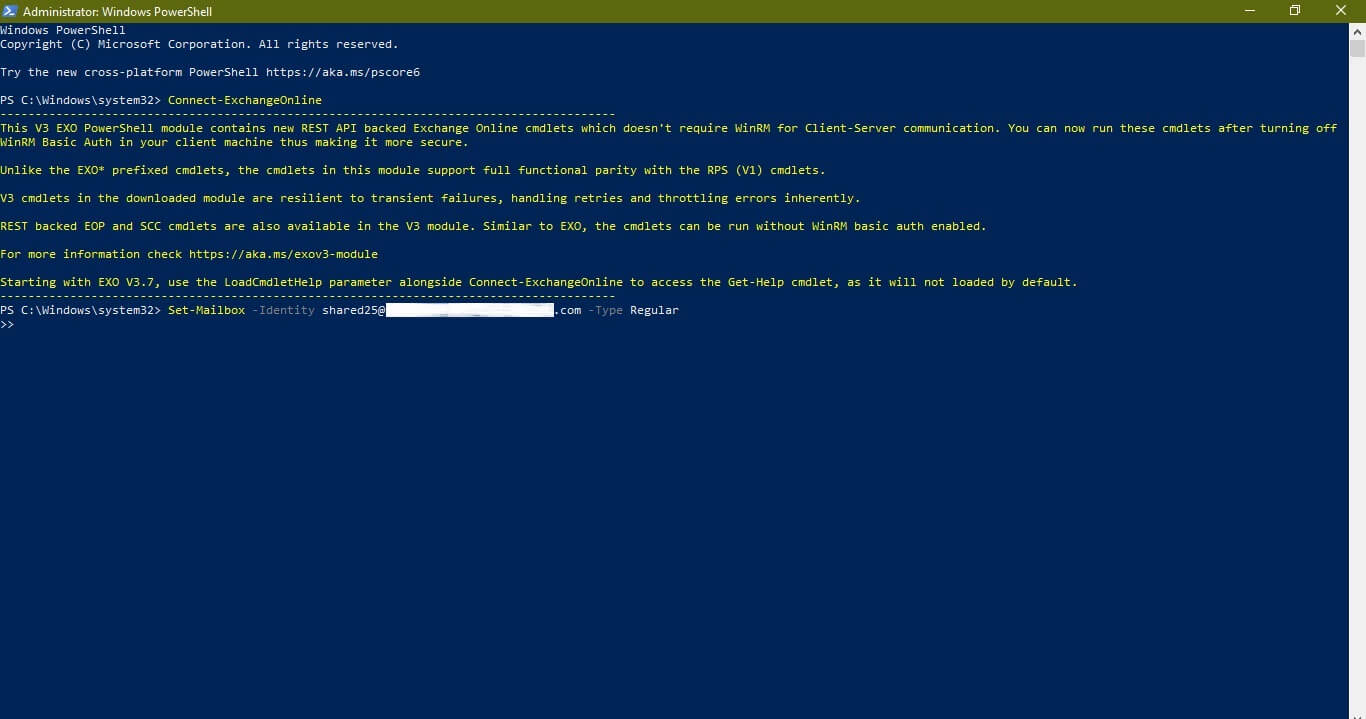
Step-4: Run the below command after when ExchangeOnline is connected successfully.
“Set-Mailbox –Identity [email protected]” -Type Regular”
Note: Use shared mailbox registered email in place of [email protected]
Step-5: Now we’ve to verify whether the shared inbox converted into the user mailbox or not, run the below command.
“Get-Mailbox -Identity [email protected] | Select Name, RecipientTypeDetails”
Now, you’ll see that the shared mailbox is converted into a Regular mailbox.
Conclusion
Converting an Office 365 shared mailbox to a regular user mailbox is a straightforward process that ensures seamless access to emails without data loss. Since, Whether you prefer using the Exchange Admin Center for a graphical approach or PowerShell for automation, both methods are efficient. In this article, we’ve discussed in brief what is shared mailbox is, what is a regular mailbox and how you can convert Shared Mailbox to User Mailbox Office 365 .
This conversion allows for personalized email management and enhances the efficiency of individual users who no longer need a shared mailbox setup.
